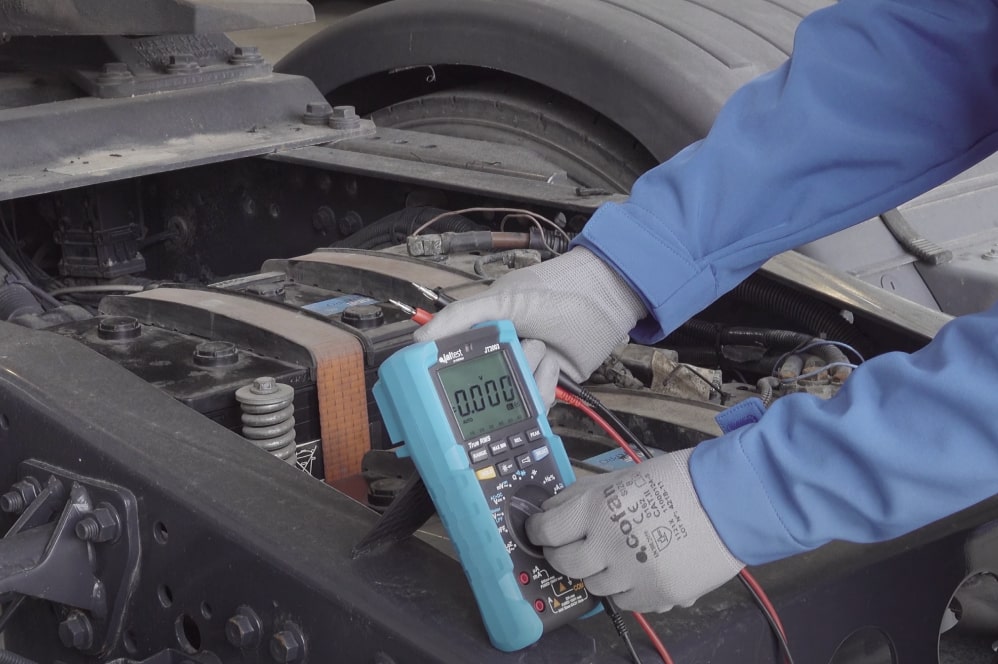
Possessing the tools & knowledge to successfully troubleshoot and fix commercial vehicles is a must for any fleet. However, troubleshooting can be a tricky and tedious process, especially with the number of ECUs (electronic control units) in modern vehicles.
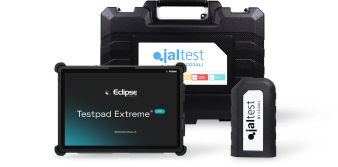
That’s why nowadays it’s close to impossible to effectively navigate the fleet management waters without a trusty diagnostics software. And Jaltest CV is precisely that – the best diagnostic tool on the market.
So, to showcase Jaltest software functionality and to help you learn how to conduct troubleshooting on your commercial vehicles, we’ve prepared a step-by-step guide.
What Is Troubleshooting & Why Is It Important?
In simple terms, troubleshooting is a systemic approach to solving a problem. Often, it’s something after something stops working and it’s difficult to determine why immediately. In our case, it’s the process of identifying what’s wrong with the vehicle and figuring out a solution.
And why is it important? Because things break.
Simply put, technicians’ work becomes much more complicated when a commercial vehicle stops working for no apparent reason. In other words, vehicle faults can follow unpredictable patterns, which can even pose a challenge to seasoned technicians. And having a tool like Jaltest to help you discover those patterns will not only prevent more serious problems from developing, but it will also reduce vehicle downtime, in turn helping you save money.
Jaltest CV Troubleshooting Process – Step-by-step
To illustrate the step-by-step troubleshooting process, we’ve chosen an example fault code: Volvo FH V4 ACM – P207F9A – AdBlue/DEF quality.
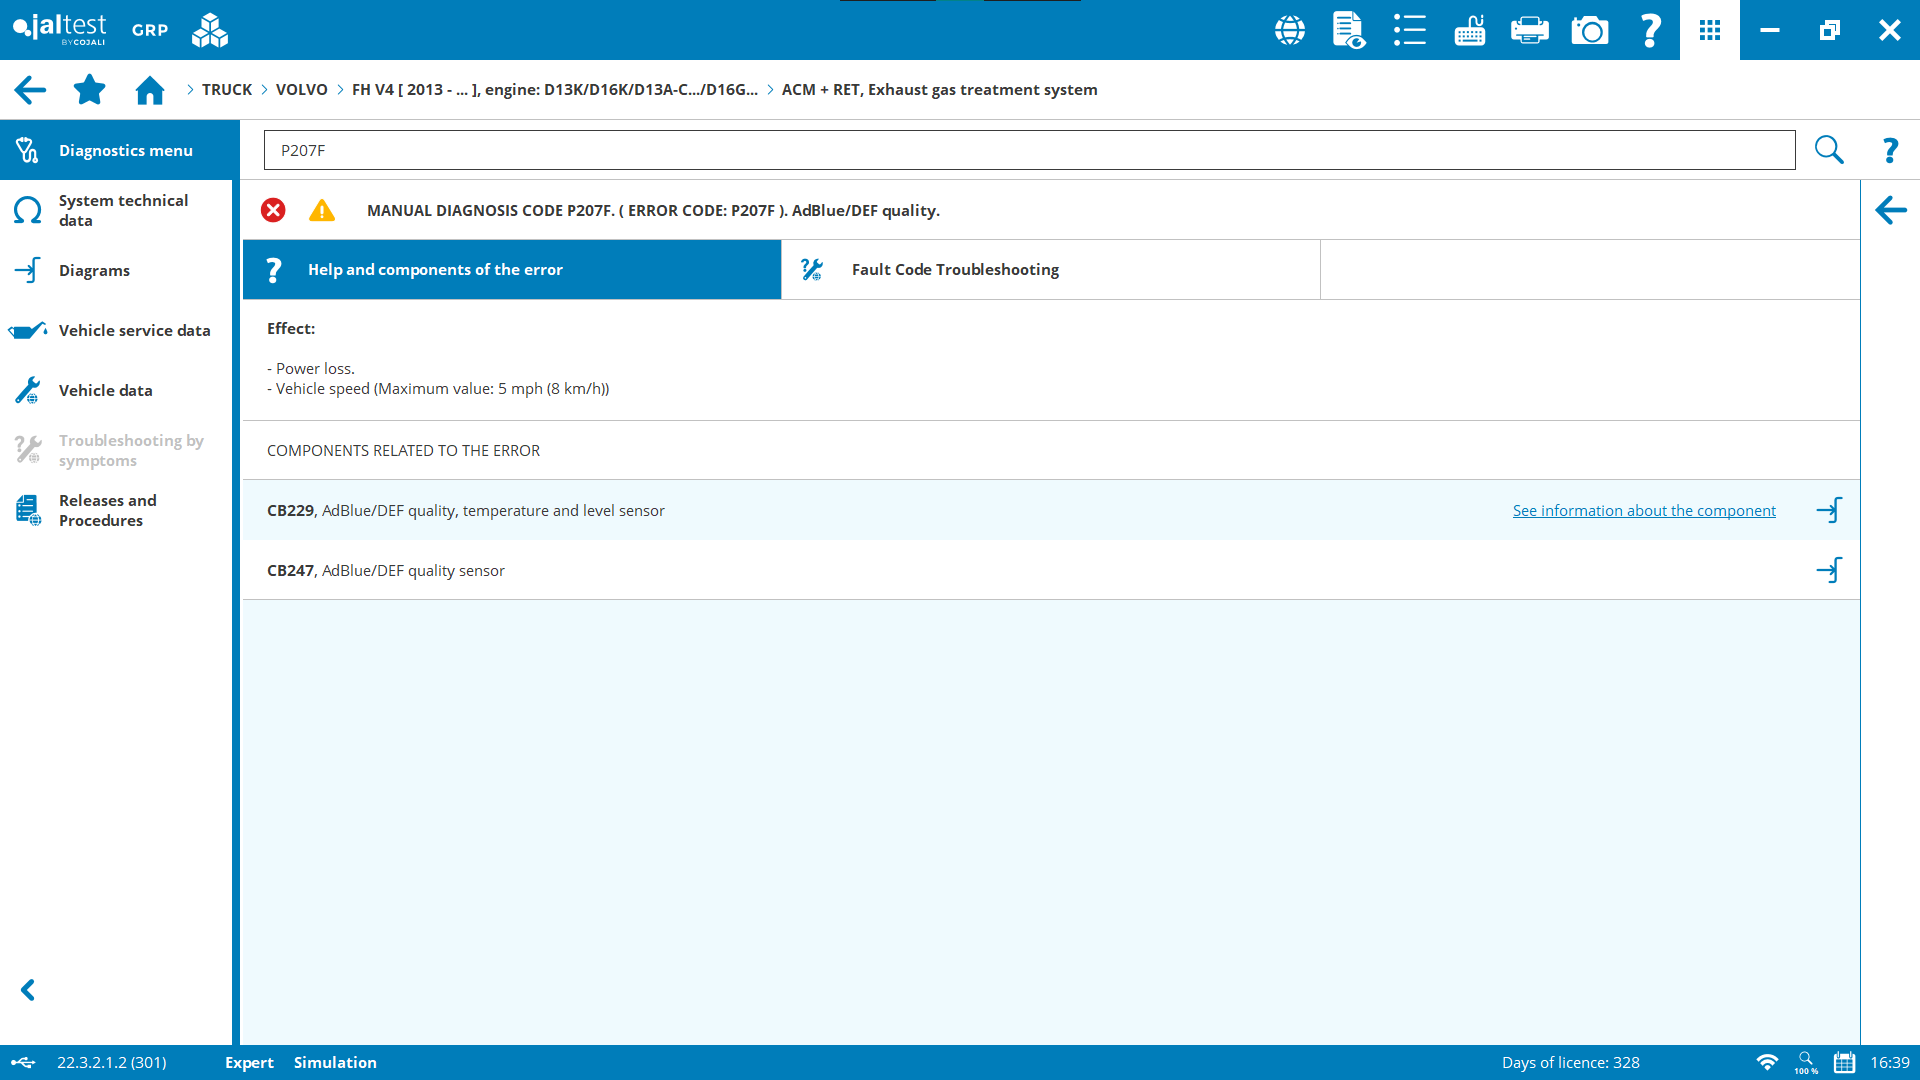
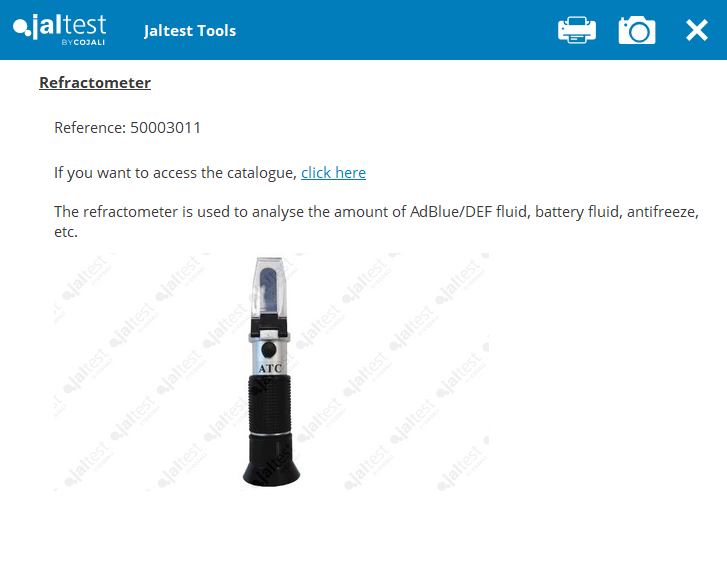
Step 1 – Check the AdBlue Quality
Check for possible contamination in the tank. For example: water, oil, coolant fluid, brake fluid, etc.
Are there any problems? If…
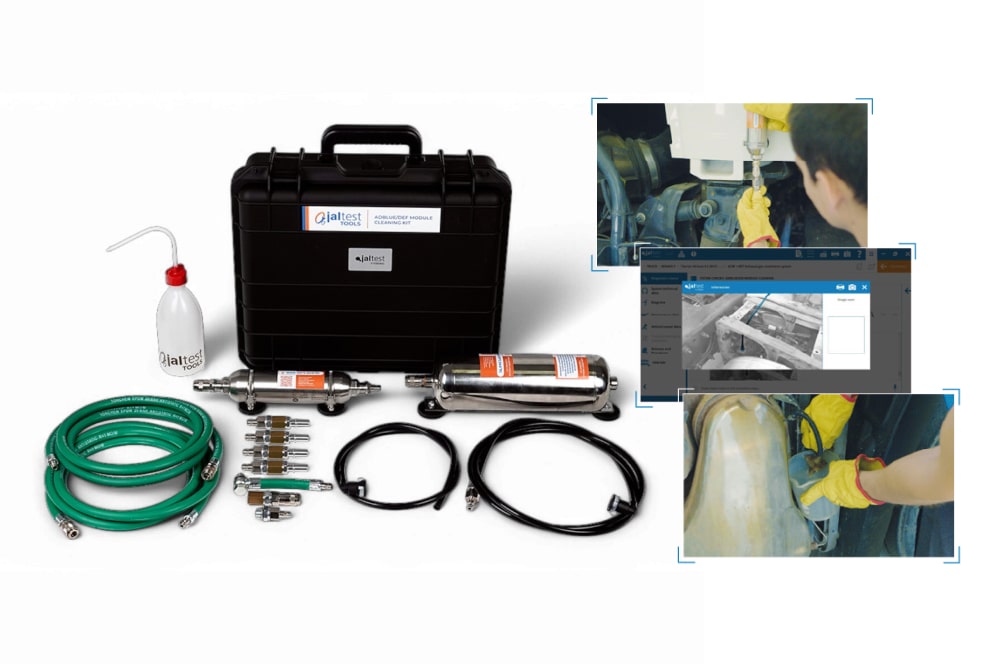
- YES – drain, clean, and refill the AdBlue tank
- NO – check for leaks and any external damage
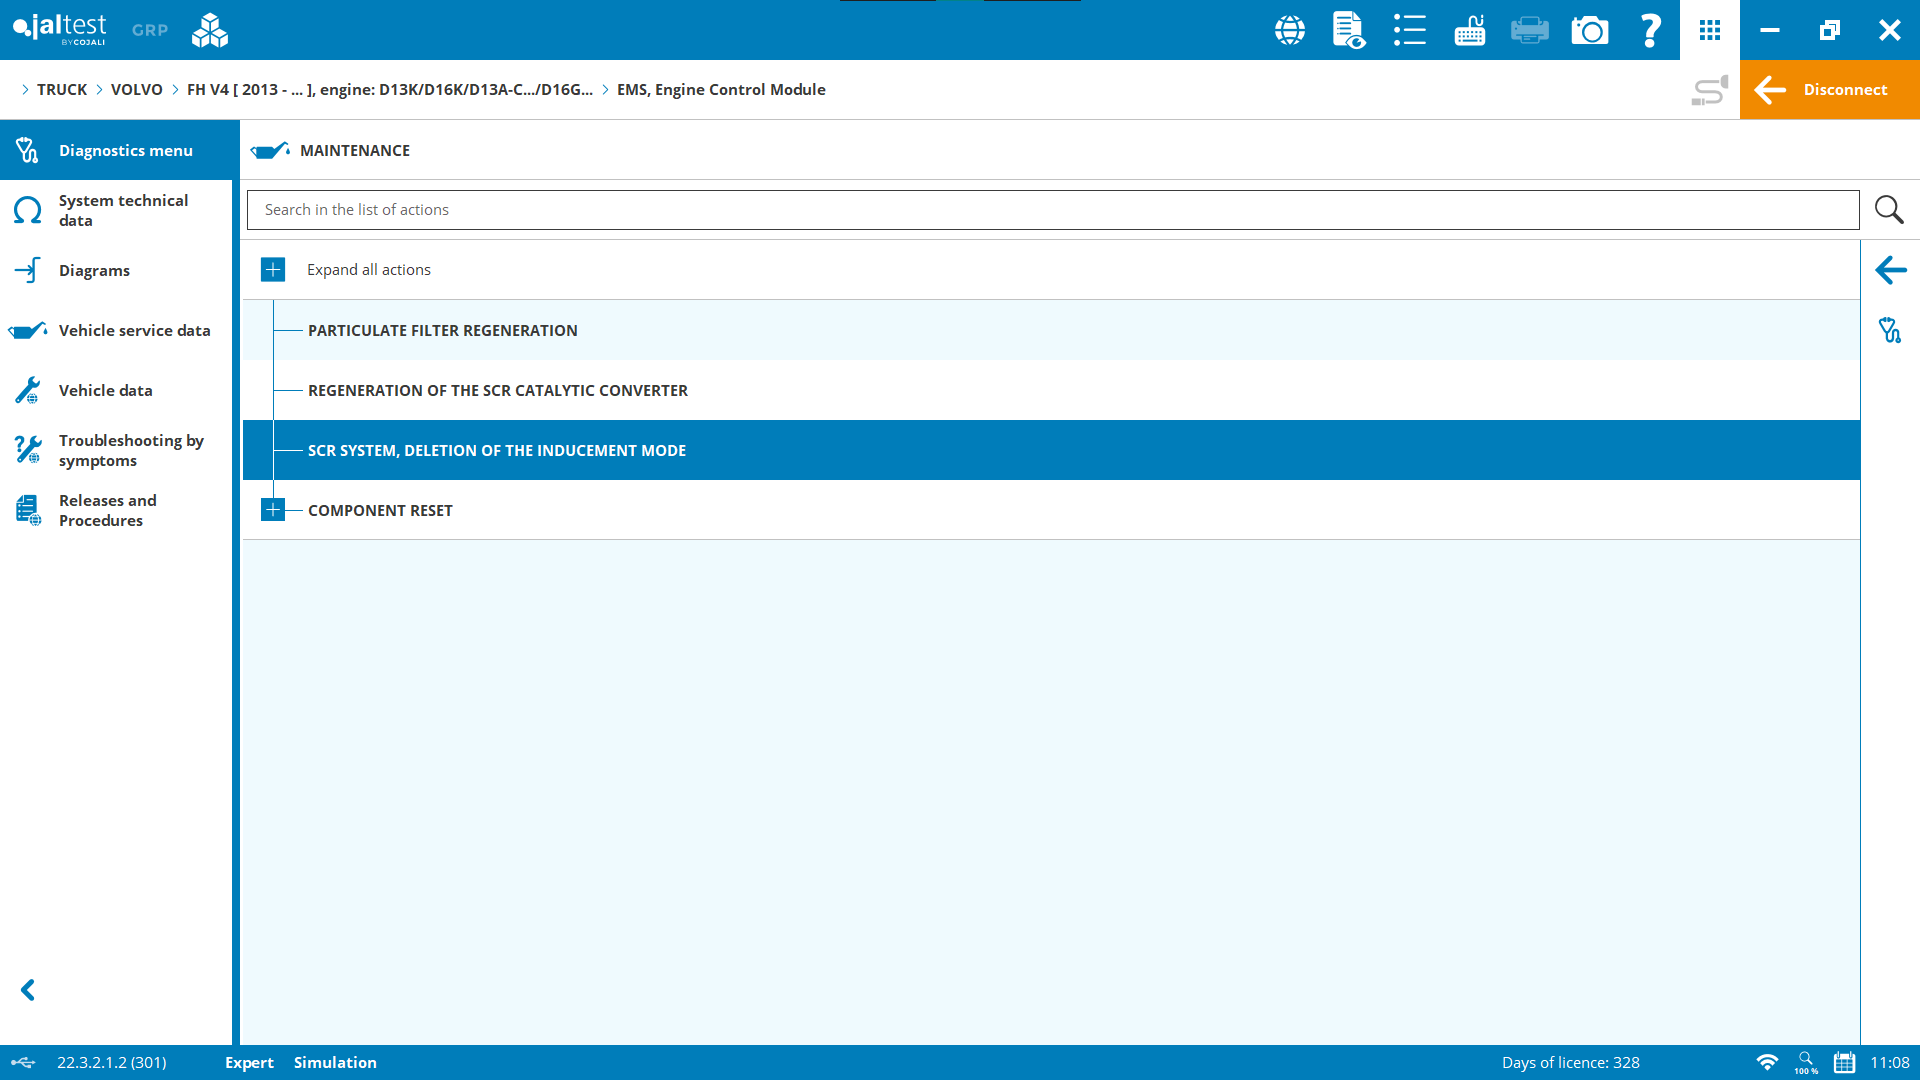
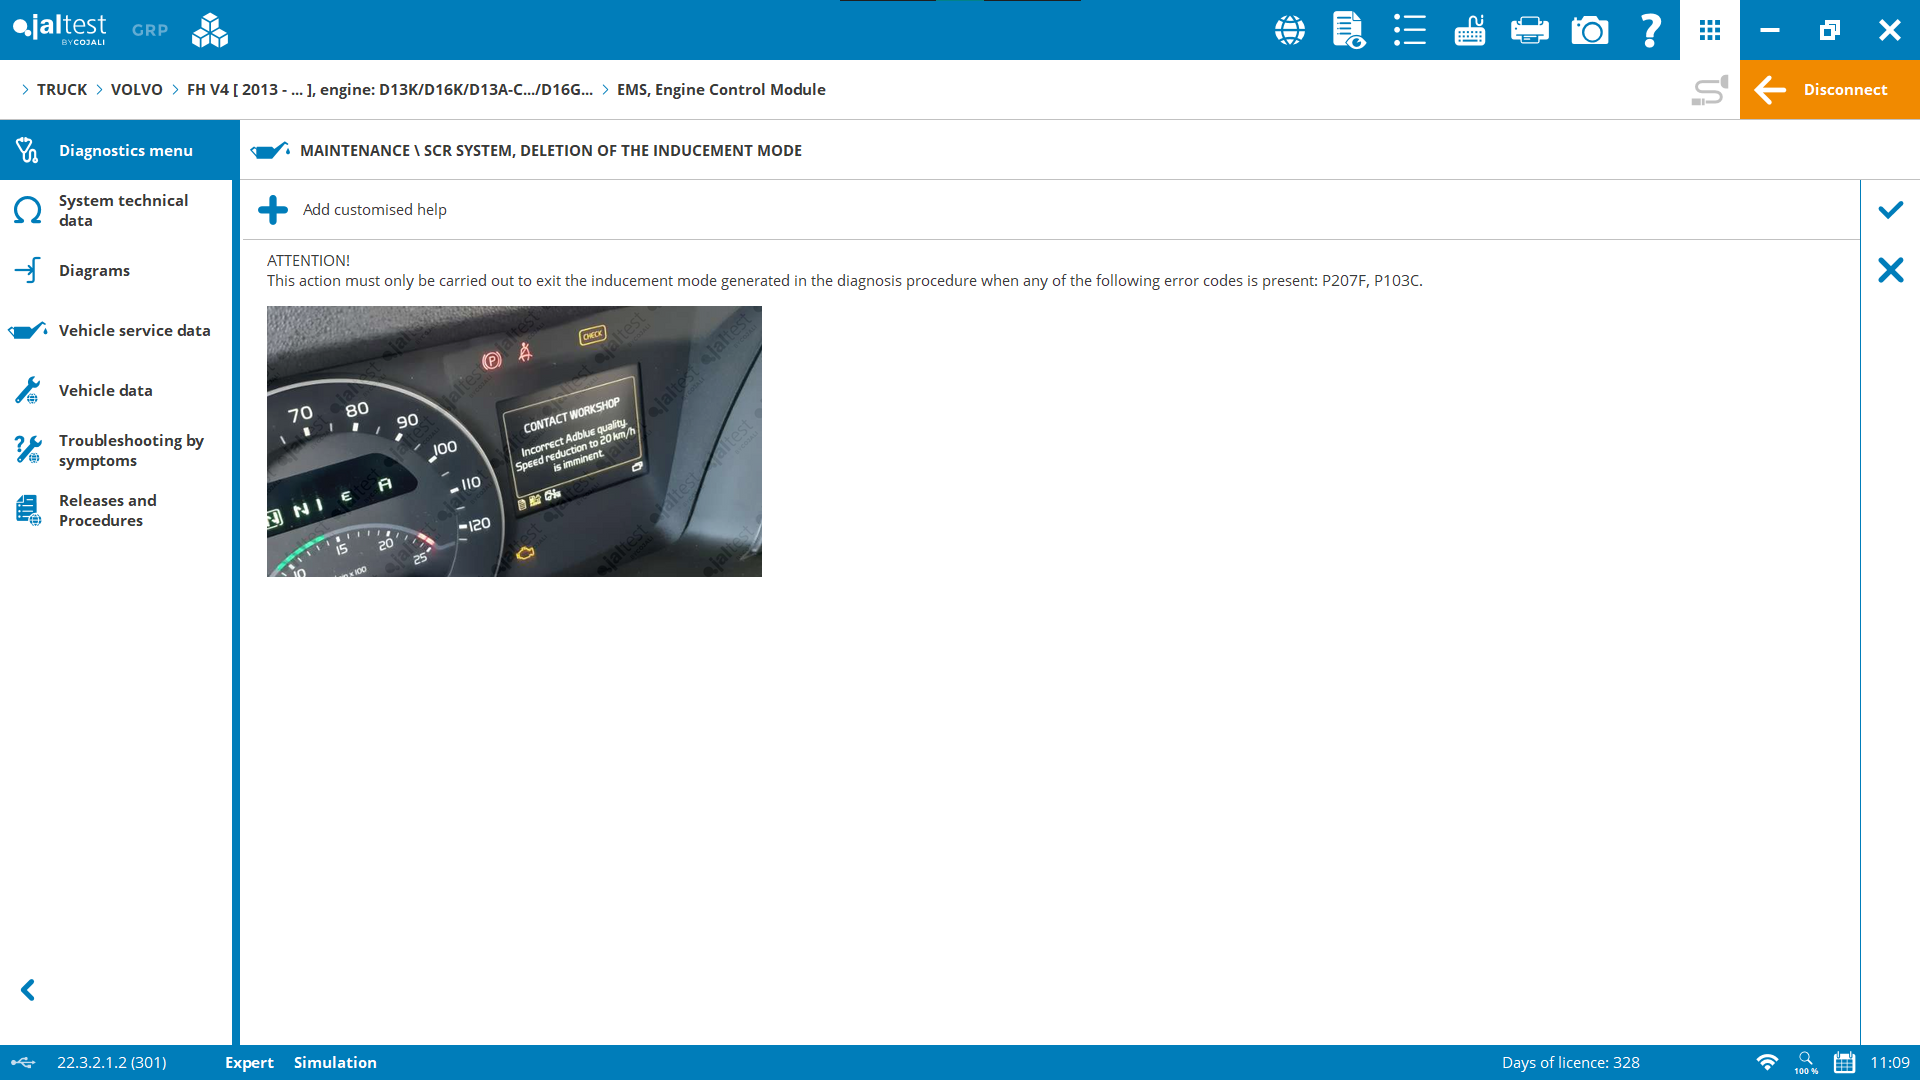
Step 2 – Check the Engine ECU for Fault P103C
Are there any problems? If…
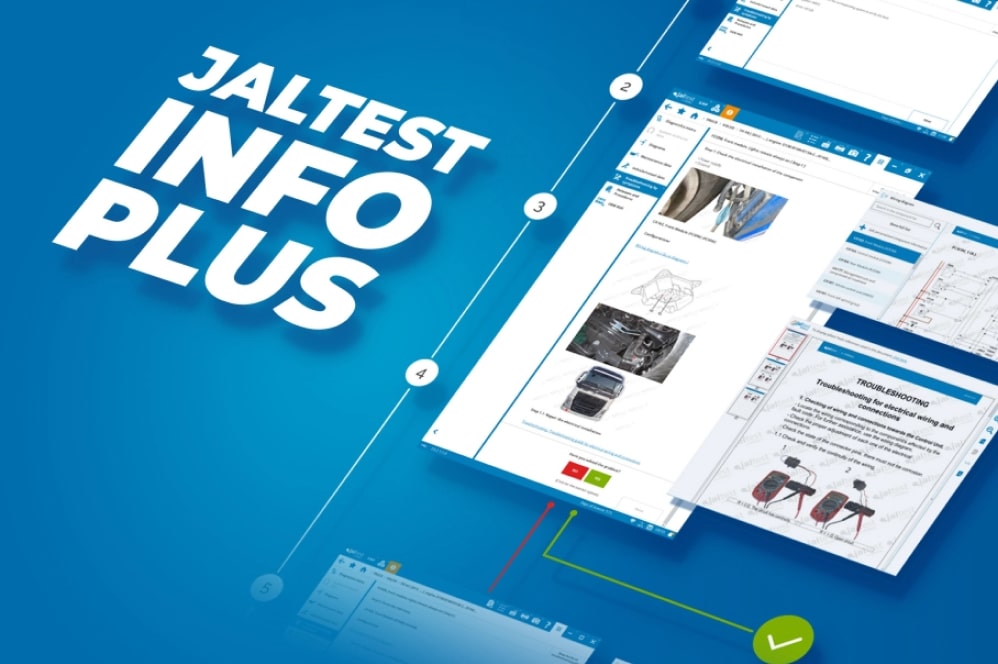
- YES – perform the following action (see images below) within the ECU
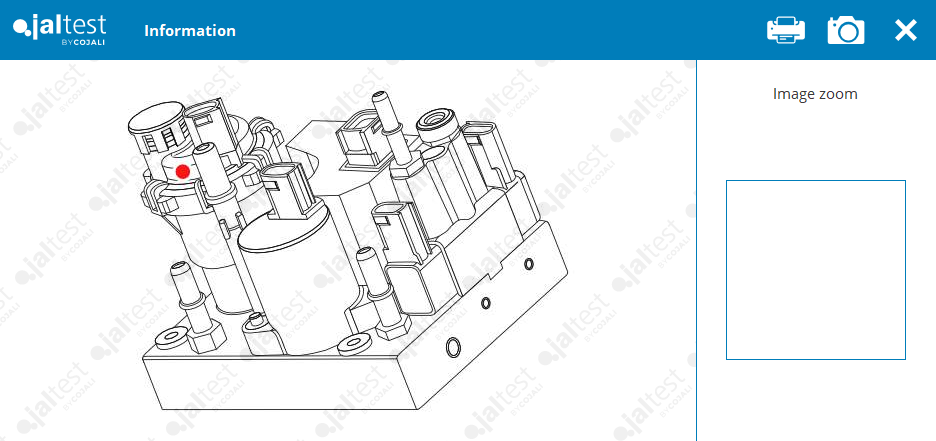
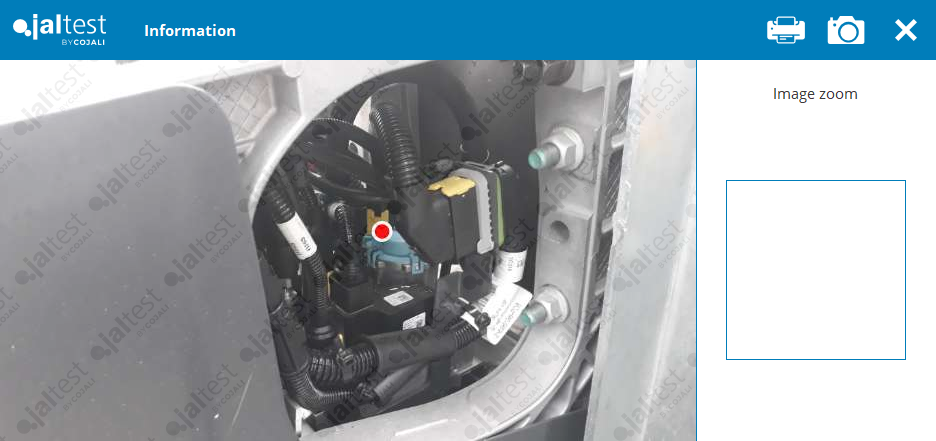
- NO – check the AdBlue pump for corrosion, contact resistance, possible short circuits, external damage, or mechanical failures.
Step 3 – AdBlue Dosing
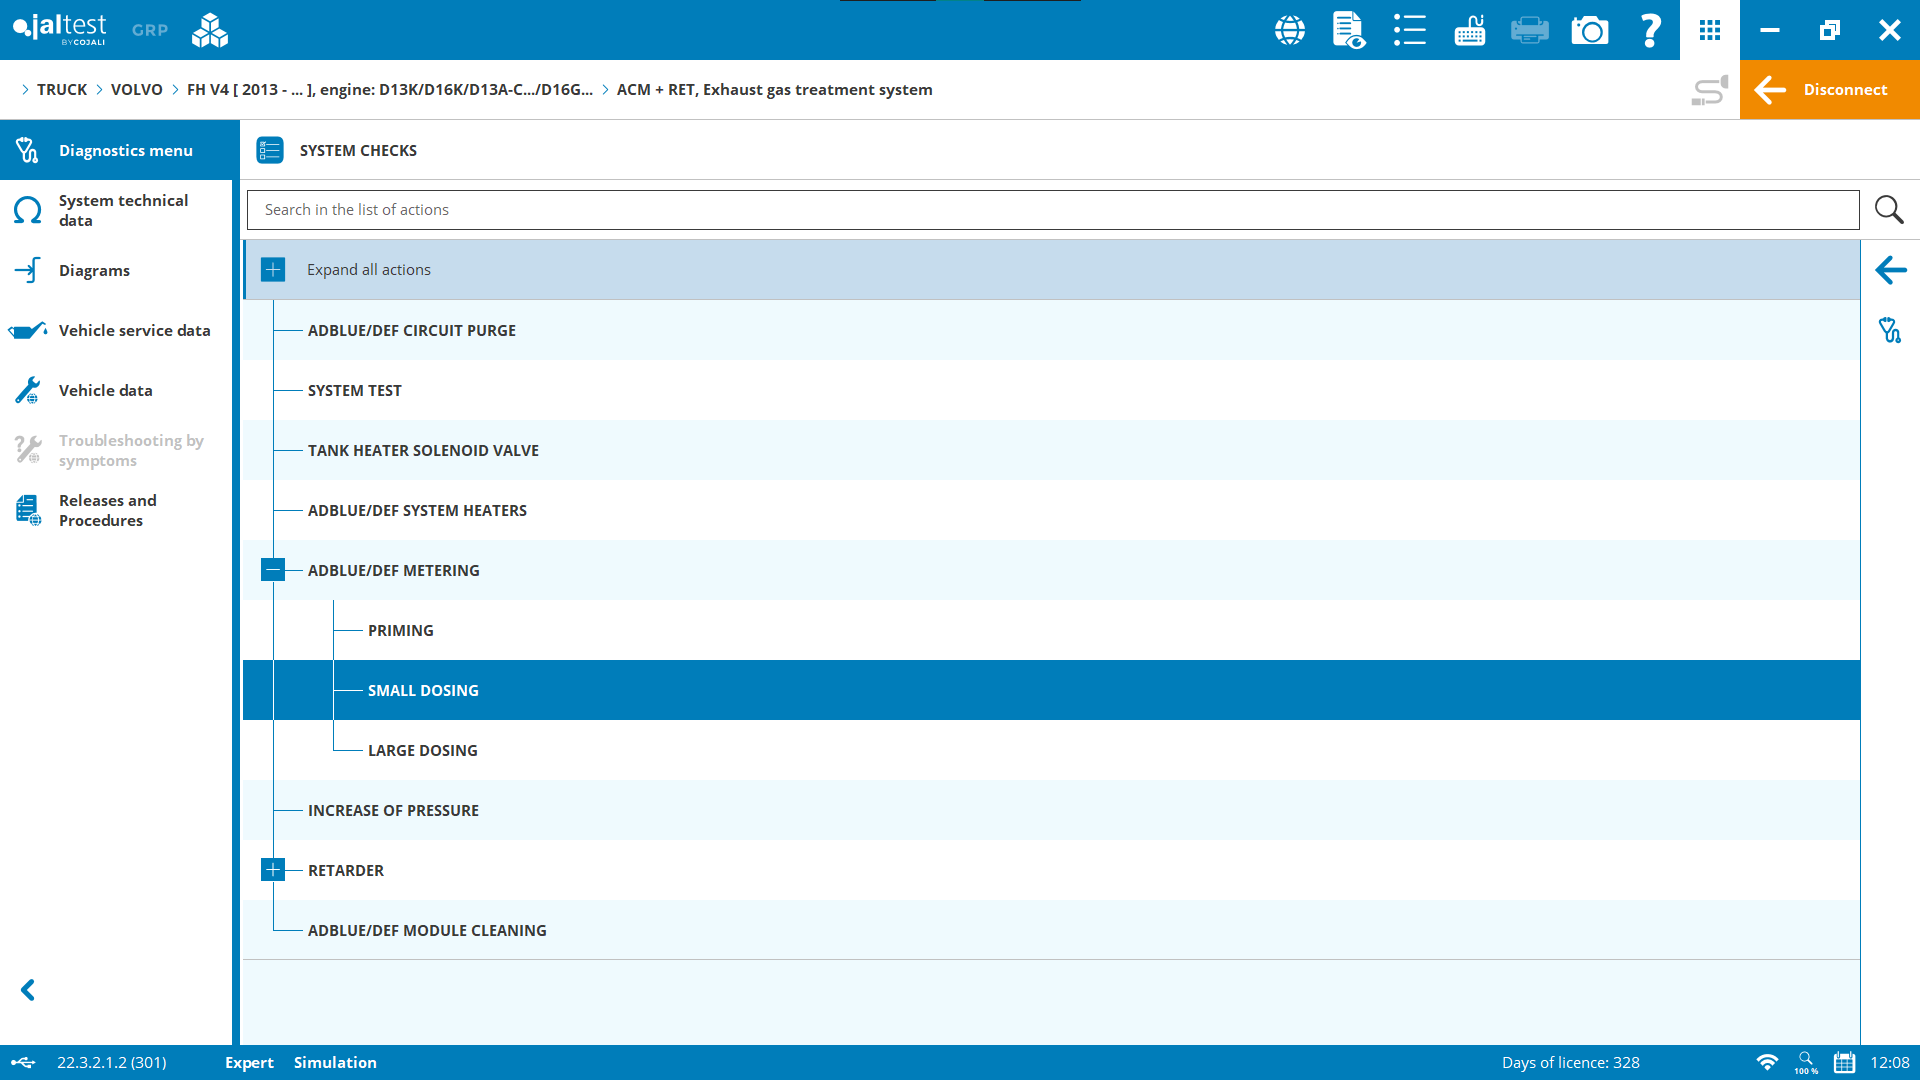
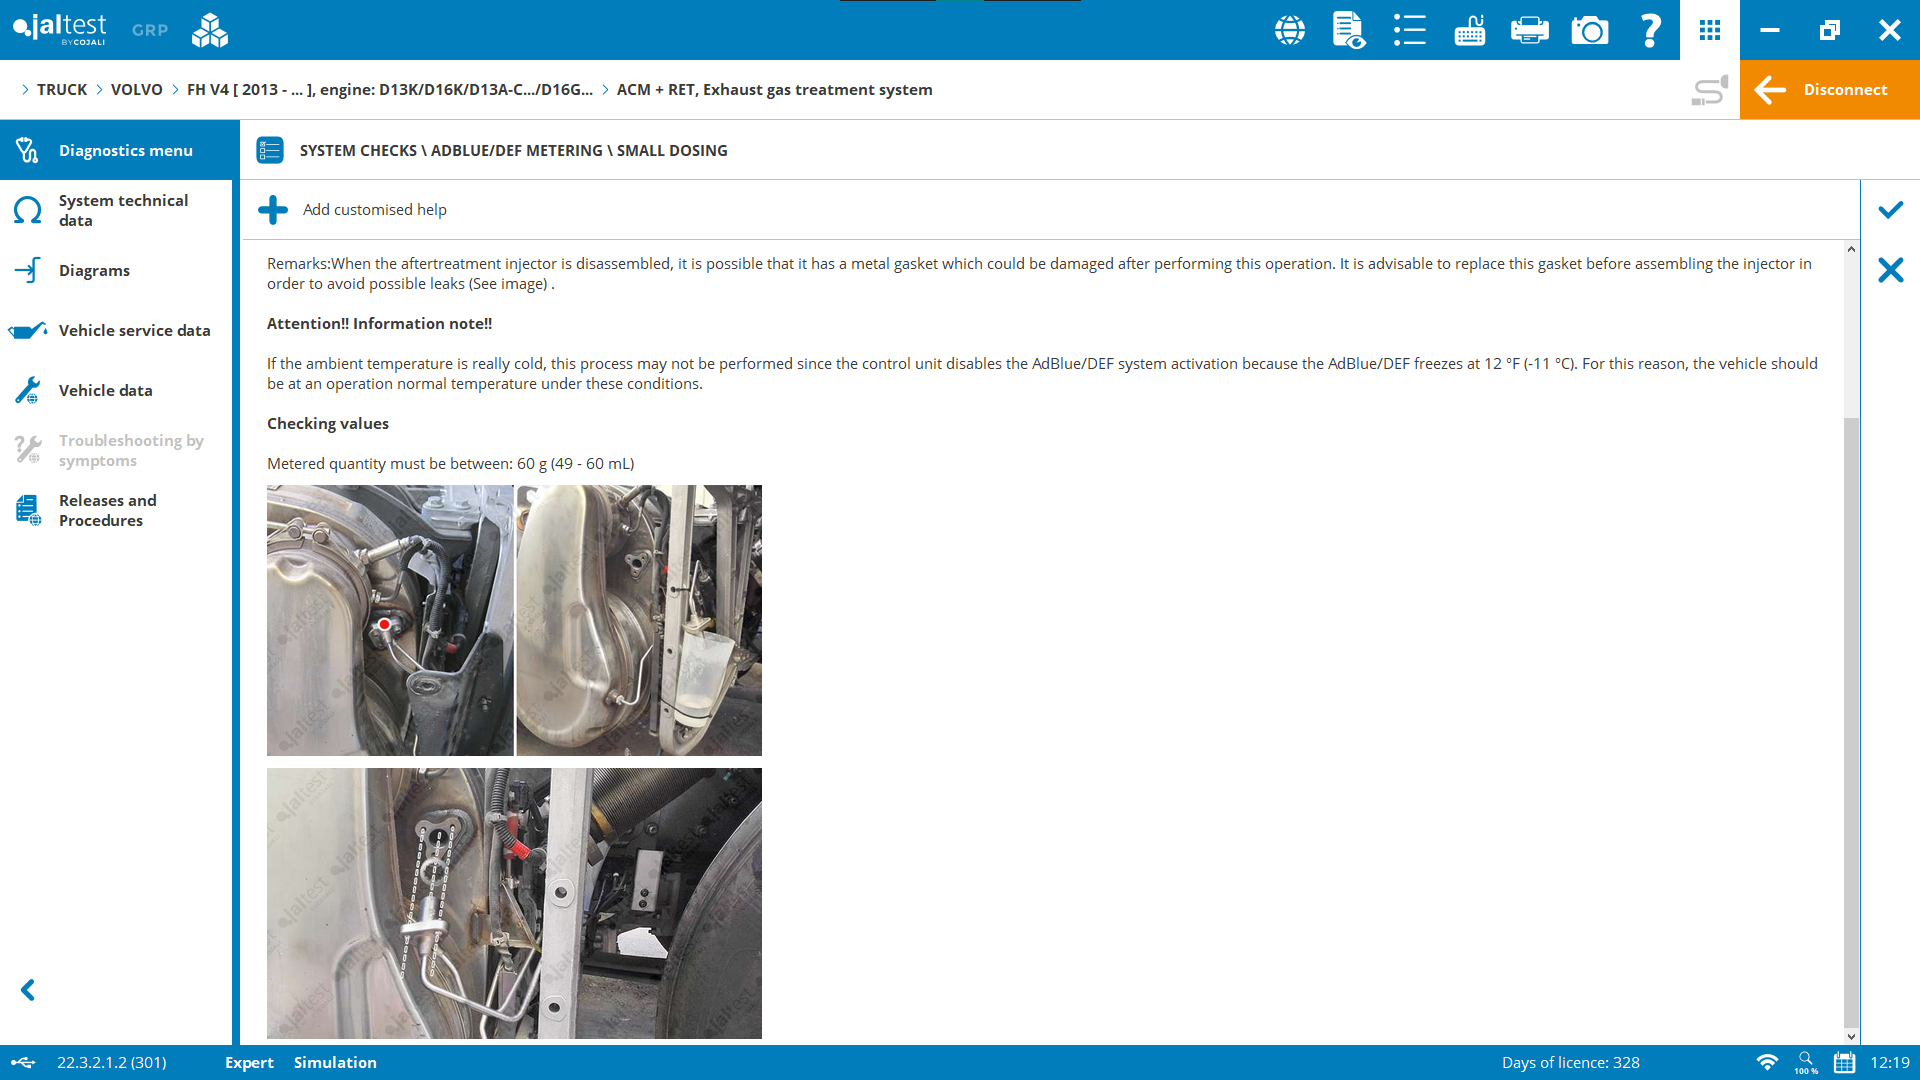
Perform an AdBlue metering test. It’s recommended to perform a priming test first to ensure accurate results. This function within the system checks in the ACM ECU.
Note: it is advisable to perform both small and large dosing tests to confirm the system is fully functional.
Step 4 – Check Whether the Fault is Active
Are there any problems? If…
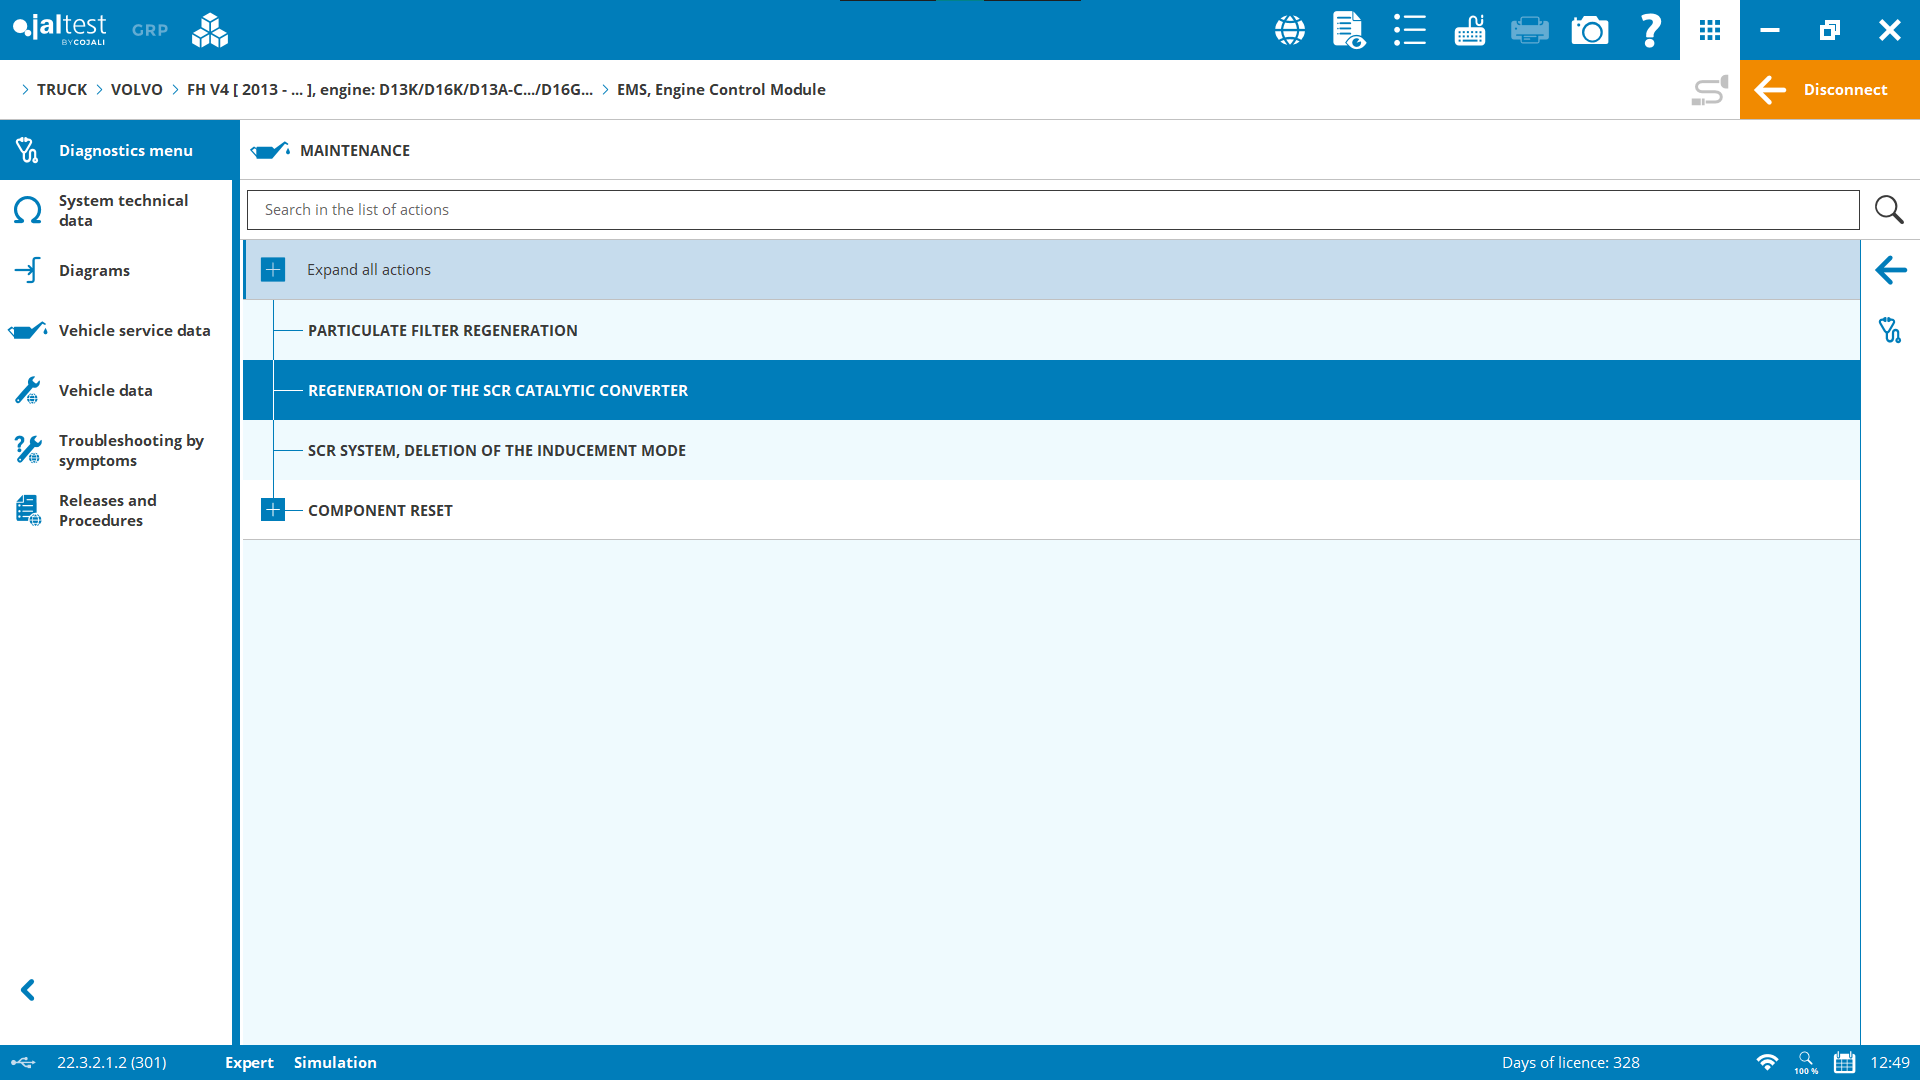
- YES – perform regeneration of the SCR catalytic converter within the engine ECU maintenance menu
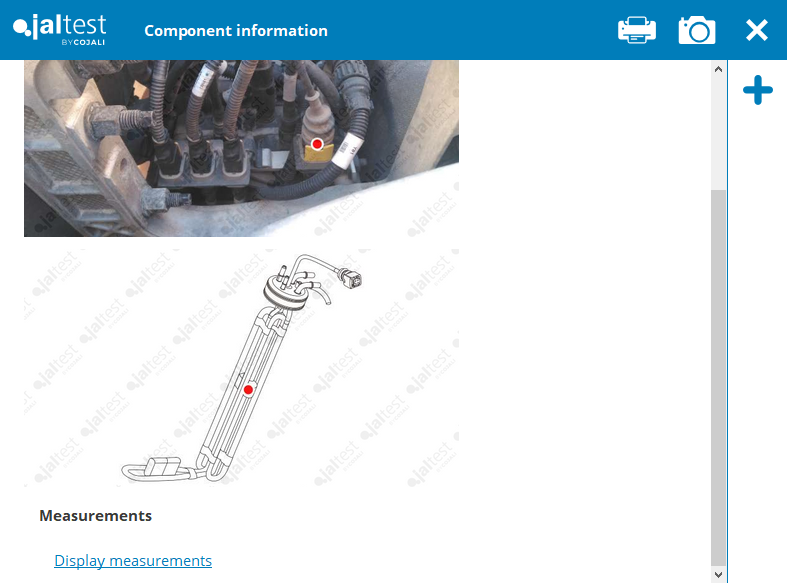
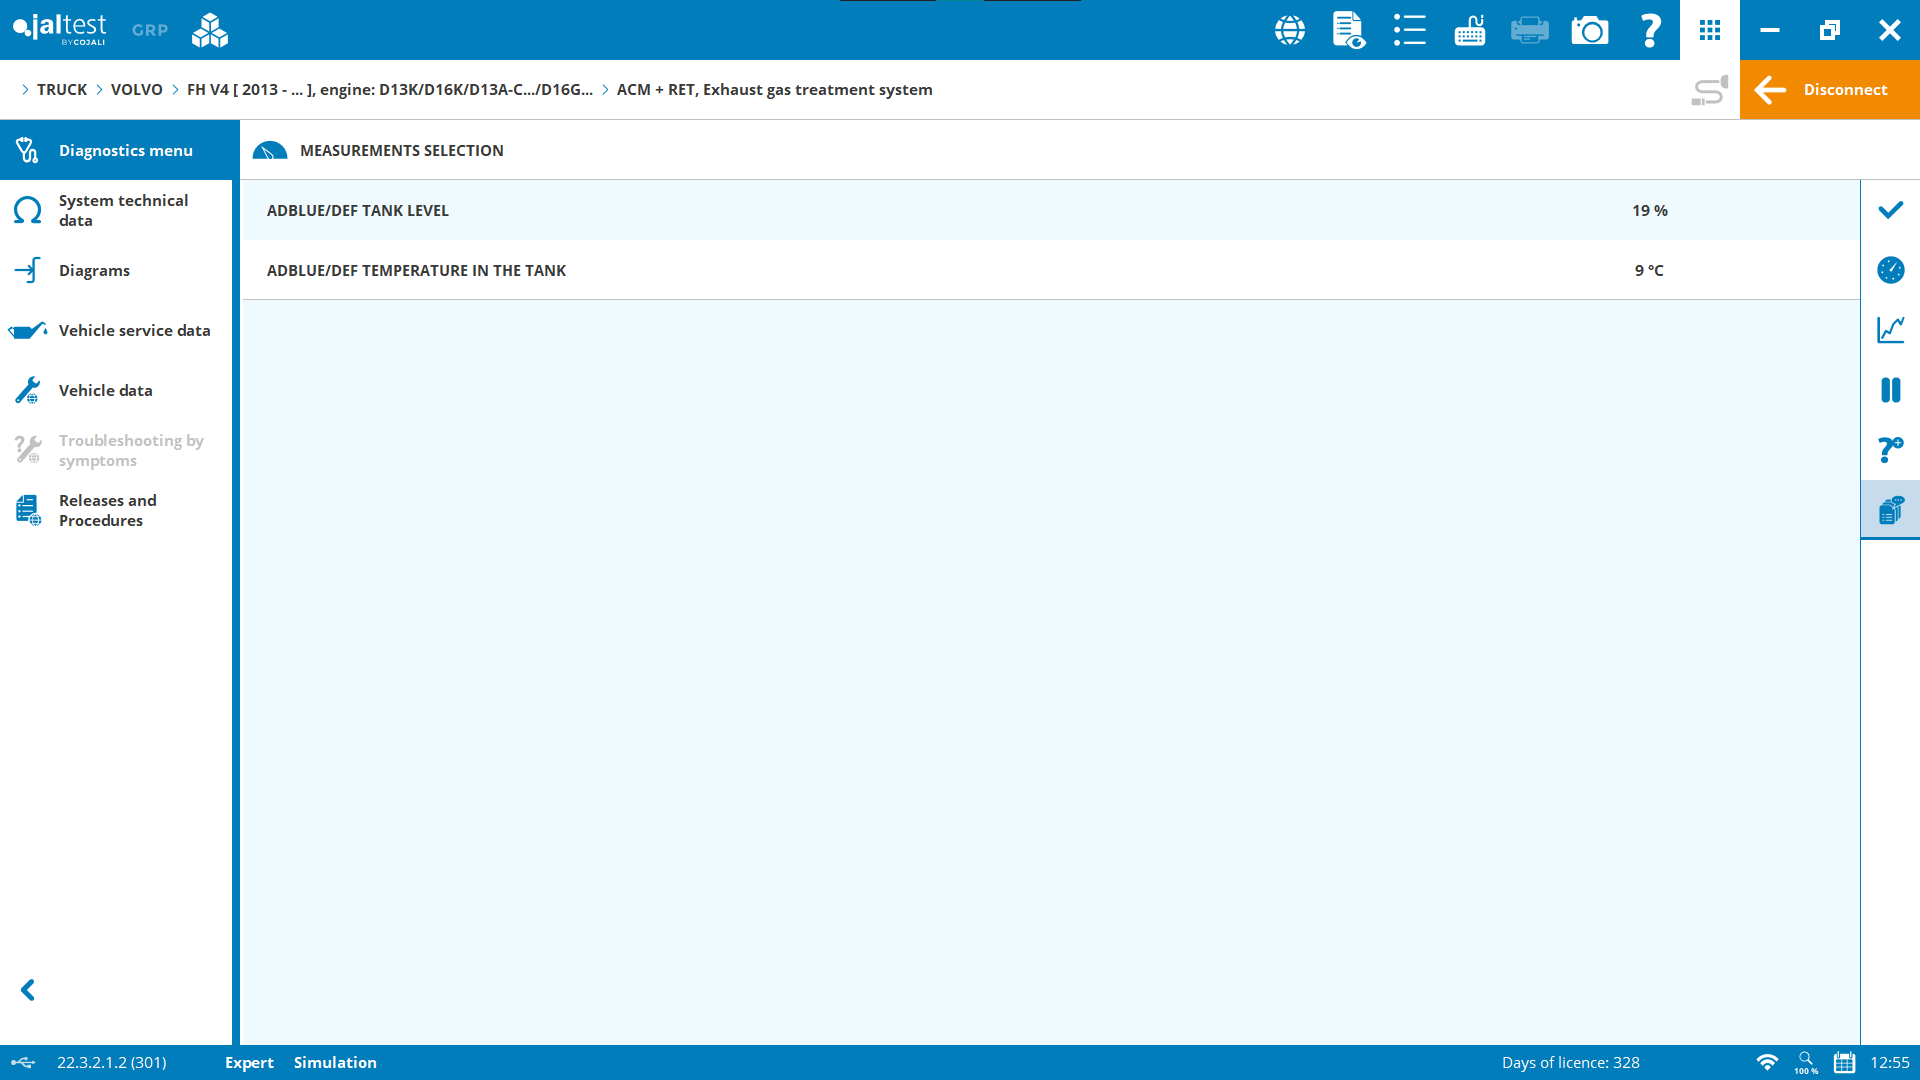
- NO – check the AdBlue temperature, level, and quality sensor (if present). Check cables and contacts for corrosion and signs of damage and check the loom for continuity.
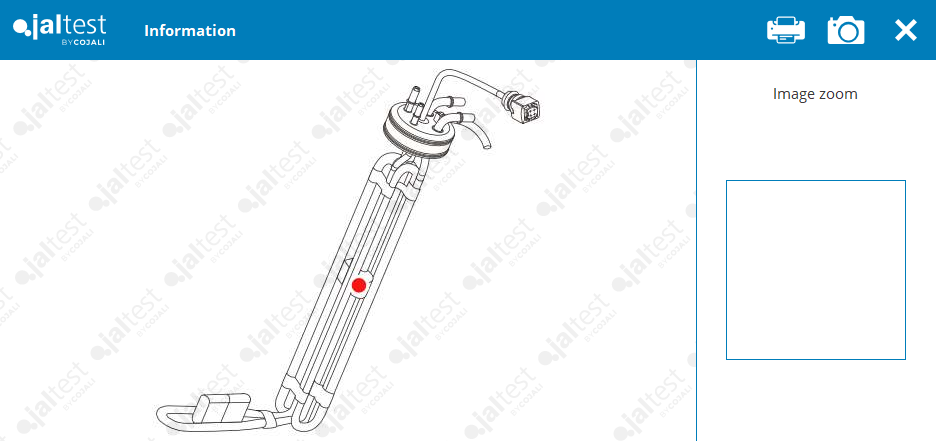
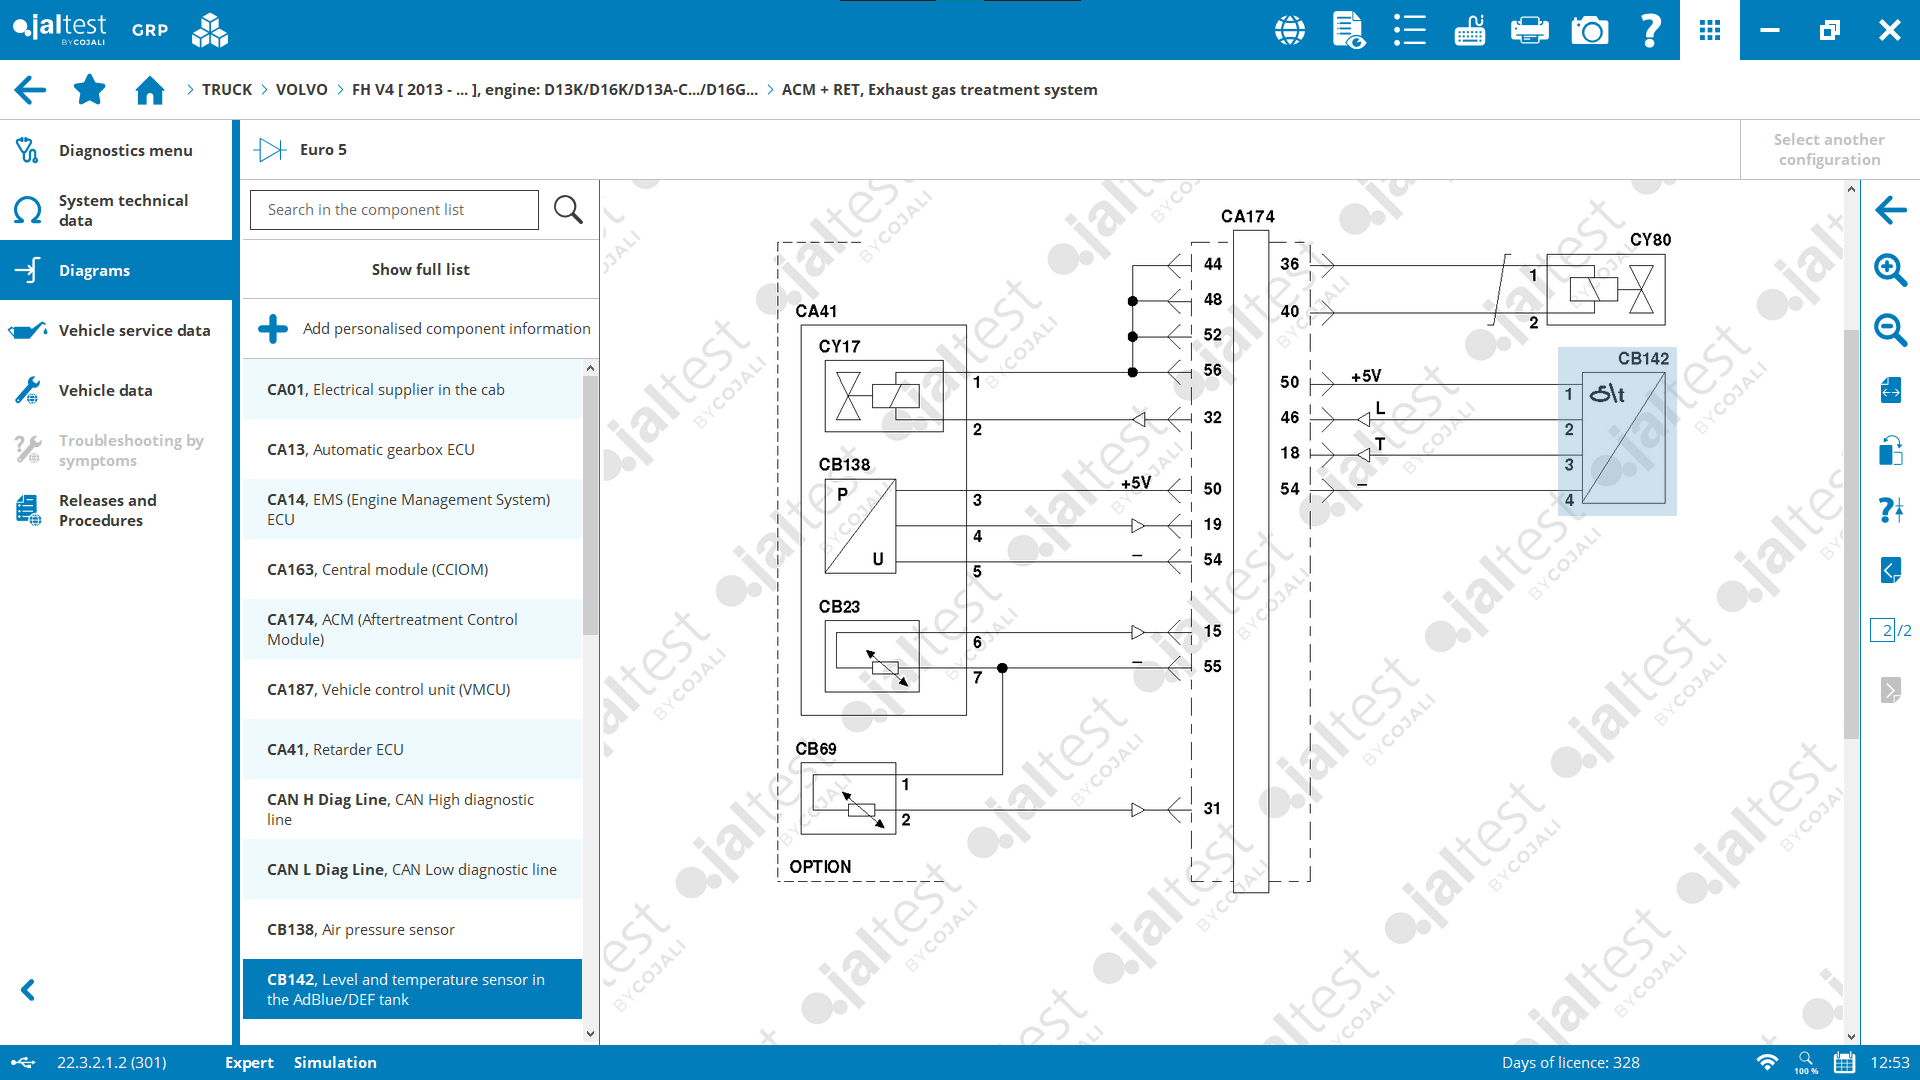
You can also check for measurements in the component information link:
Step 5 – Double-Check
Clear errors and verify the problem has been rectified. And… You’re all done!
Final Thoughts
Overall, the troubleshooting process is made much more straightforward by using Jaltest CV. It reduces downtime by allowing access to dealer-level functionality in commercial vehicles and guides technicians to reach a successful diagnosis and implement fixes more efficiently.
If you think that Jaltest CV could complement your commercial vehicle fleet – get in touch with our team of experts.
